Solar Panels - Install
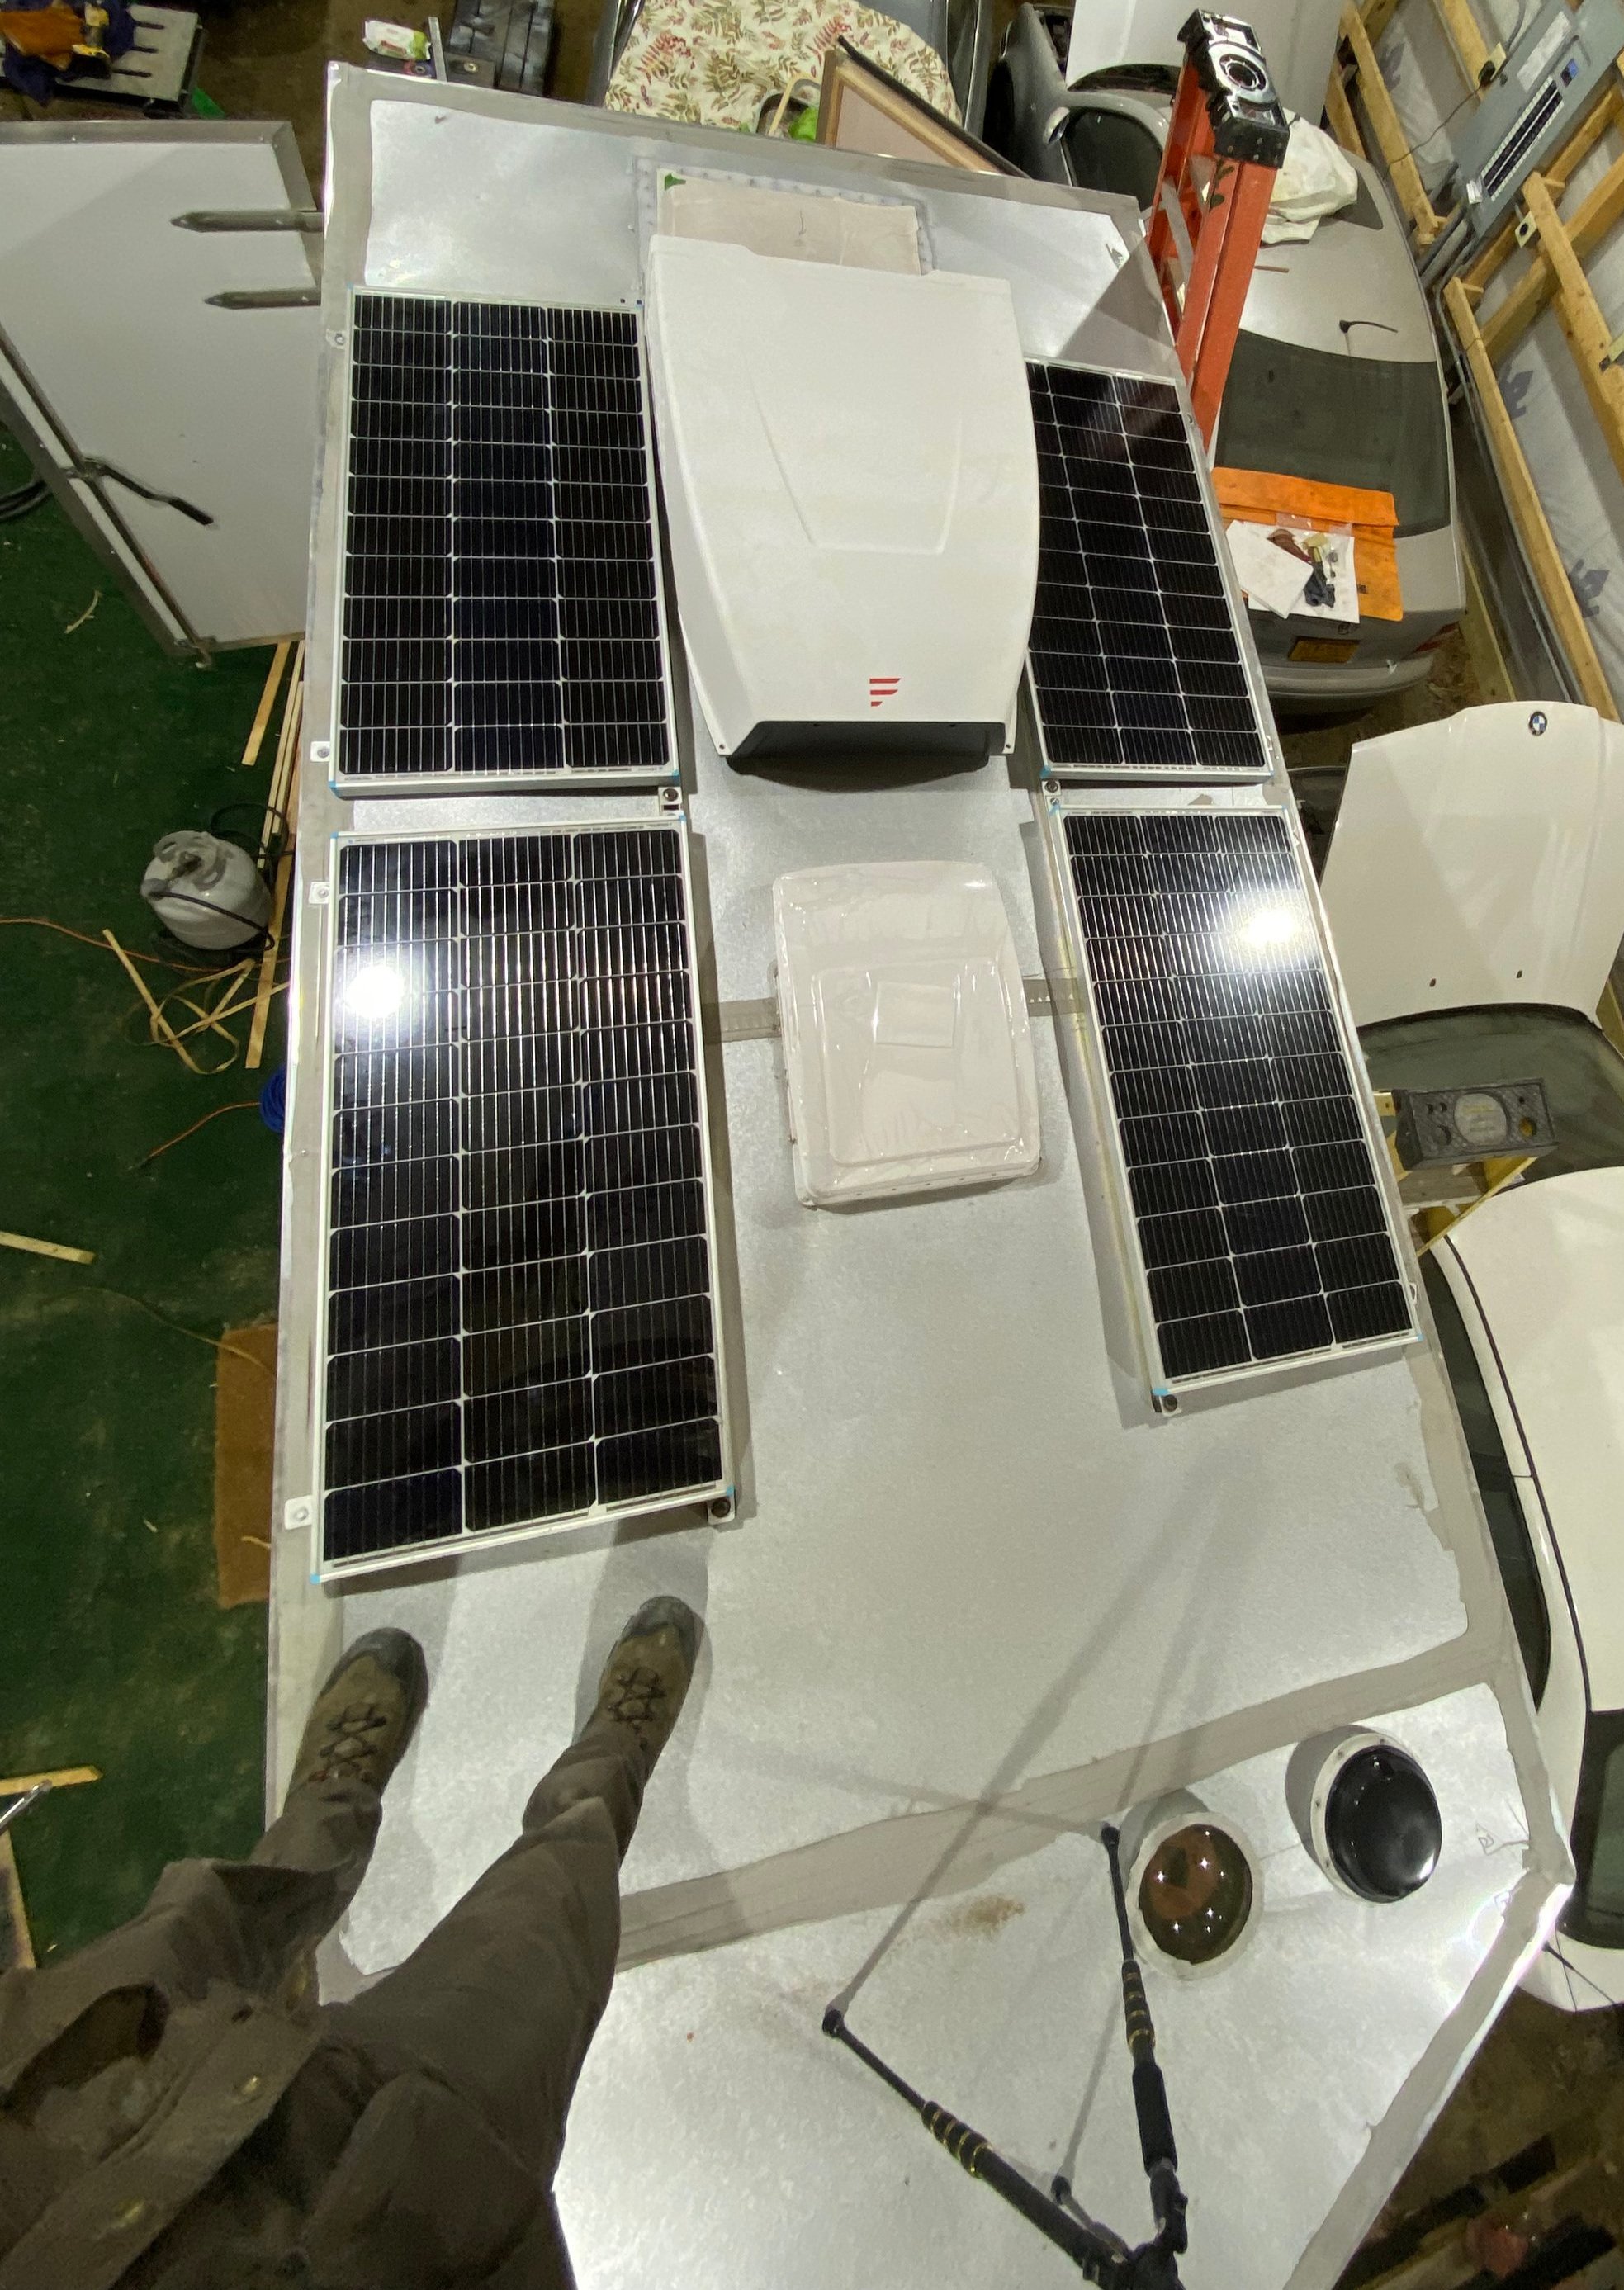
One of the cornerstones of the design was to be electrically independent. To do so, this required a large battery bank with solar panels on the roof to keep them charged. Unlike teardrop trailers and van-lifers, real estate on the roof is not at a premium in this case. I was able to fit 4-100W panels on the roof on either side of the rooftop unit and Maxxfan and still have plenty of room in the front for expansion or other equipment.
The panels are mounted more aft to again help distribute the weight (~28-lbs/e) closer to the axle in addition to making cable management easier. In a review of code requirements, the wiring for PV arrays should be UV resistant. And after reviewing many many many Youtube videos, the go-to connection was these connectors that then went through a simple double-gland. It seemed inefficient to me.
Typical connections and glands for campers.
Instead, I lined up the panels, back-to-back per se, so that the factory whips were close to each other. All the series and parallel connections within the trailer, with non-UV-rated cable. And all exterior wiring remains UV and exterior rated. The glands, on the other hand, are priced at about $12.00 for a double ($6.00/e), so instead, I hid the cables under the panels and got a pack of 38 for around $21.00 ($0.54/e). Each panel got 2 so there was a bit of a tradeoff between 1 penetration and many expensive connections for 8 penetrations and no expensive connections.
To hold the panels down, I spanned the ceiling steel with an 8-foot piece of unistrut. The inside edge of the panels would be bolted to this while the outside would lay right up to the edge of the trailer where I could then screw through the roof. Using fender washers and self-taping screws, the strut spans across several roof members that do not allow mounting along the length of the trailer.
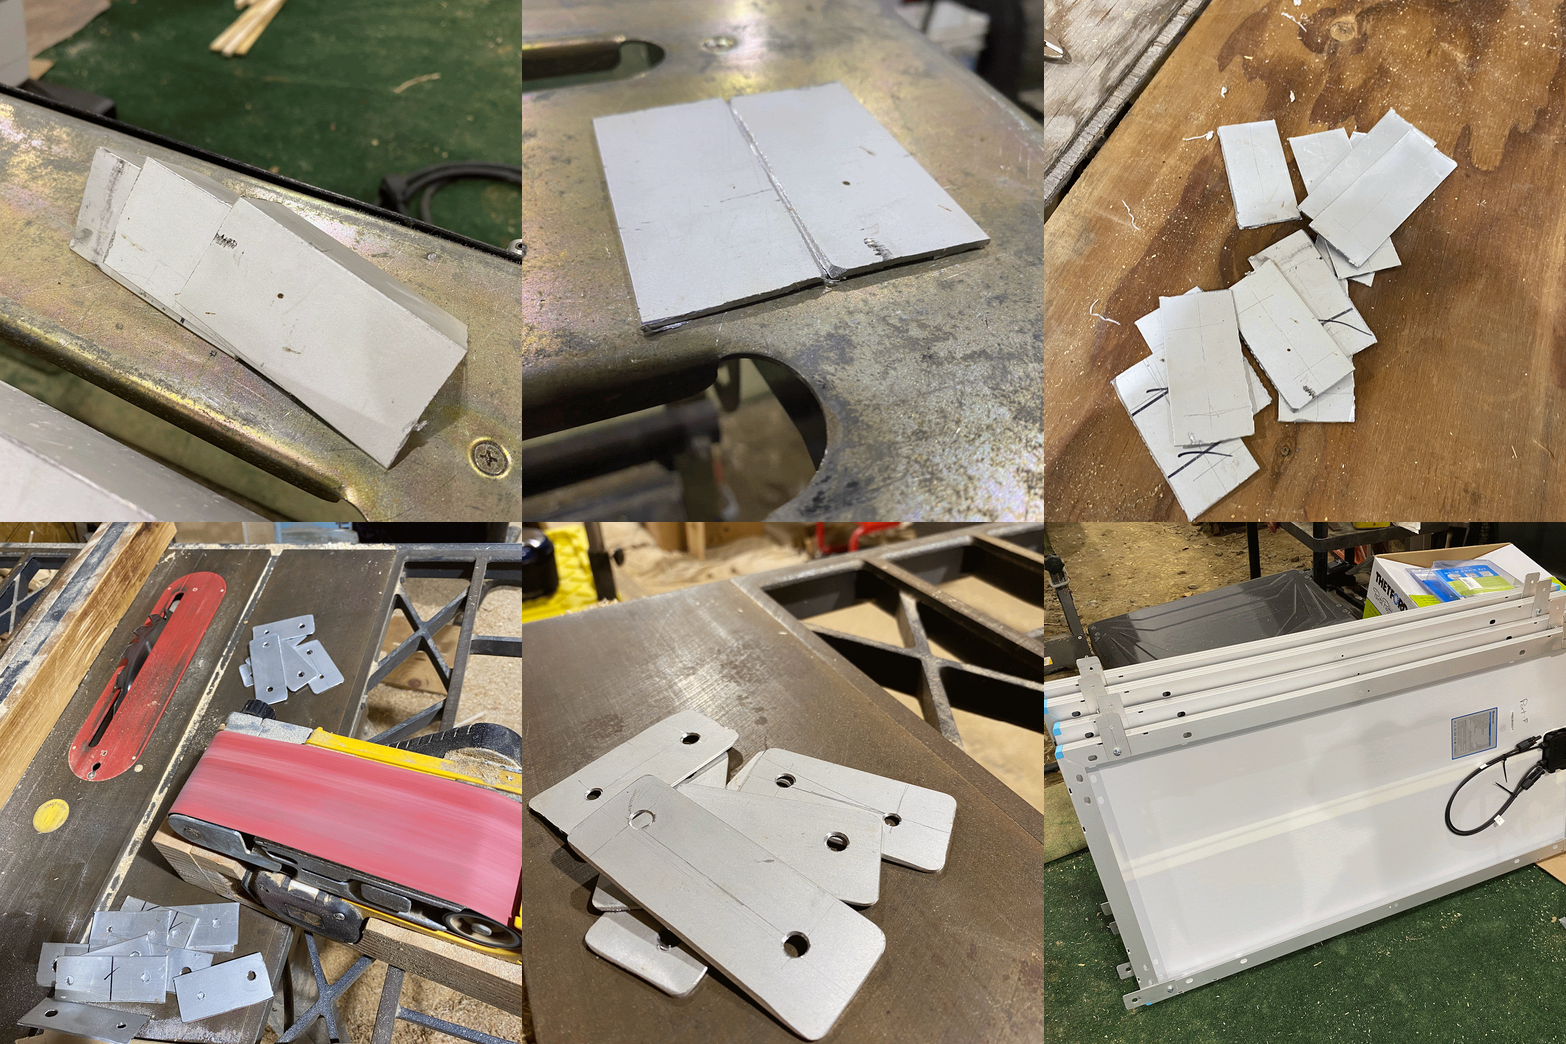
To secure the panels to the respective mounting positions, I made some aluminum brackets from a length of angle stock. Using what hardware I could find, secured those to the panels and then the panels to the mounting locations. I had originally wanted the panels to articulate to an angle when we are at a campsite, but the design to keep something secure enough during transit and from theft did not make sense.
The hardest part was getting the glands secured. They have a thread that goes through the material with a bolt for the inside. I had to pull the gland from the top and thread it on the nut at the same time. Creativity is the name of the game.
And if you made it to the end, here is the sybd side installation from start to finish.
Stay tuned for the second article on solar describing how to size the system and the plan behind wiring the panels into the battery bank.


